Turn your plane photos into wall art
The short version: pick your sharpest, best-lit shot of the aircraft, upload it, then either print it true to life or have the AI redraw it as a blueprint, poster, line drawing or painting. Choose paper, canvas, metal or wood, set the size, preview it, and order. It's printed to order. The rest of this guide is the detail that gets you a piece you'll actually hang, rather than one that looks soft or cramped on the wall.
If you spot, you've already got the photos. The aircraft you waited all afternoon for. The rare visitor that finally turned up. That one rotation shot where the light was perfect and the gear was just coming up. And where do they live? On a hard drive, or buried three thousand frames deep in your phone. Daft, really. So here's how to get the best one out of there and onto a wall.
Which photo actually works?
The print is only ever as good as the shot you feed it. You can't sharpen detail that was never there, and a tiny phone crop won't suddenly become a metre of crisp aluminium. So start by being a bit ruthless with yourself about which frame you choose.
What works:
- The aircraft is clearly the subject. Not a speck against a huge sky, it fills a decent part of the frame.
- Side-on or three-quarter angles. These read best as wall art. A nose-on or tail shot can look odd large.
- Decent light and focus. A bright, sharp daytime shot beats a grainy dusk one every time.
- A clean-ish background helps: though if it's messy, a restyle will tidy it up for you (more on that below).
What fights you: heavy haze, a long digital zoom that's gone mushy, motion blur, or a frame you've already cropped to within an inch of its life. None of those are automatically fatal, but know what you're starting with. If your only shot of a much-loved jet is a soft one, the blueprint and poster restyles redraw the shape rather than relying on every pixel; check the preview.
What resolution and DPI do you need?
This is the part to check before anything else. Print quality comes down to how many pixels you've got to spread across the size you want. The figure to aim for is around 300 pixels per inch (PPI) at the final print size: our upload check grades a size at 300 PPI or more as excellent, prints from 140 up, and refuses a size below 140.
Here's the thing nobody tells you, though: viewing distance changes everything. A small framed print on a desk gets looked at from a foot away, so it needs that full sharpness. A big canvas across a hallway is seen from several feet back, and at that range you can drop a long way below 300 and nobody will ever know. It's exactly why billboards print fine at very low resolution. You are never standing with your nose against one.
We don't leave that to judgement. The site measures your file against the physical print size of every option and refuses to sell you one that lands under 140 effective dpi. So the sizes you are offered are the sizes your photograph can actually carry, and any that are missing are missing for a reason.
So what does that mean for our sizes? A rough guide for the Personalised Aircraft Print:
- A4 and A3: viewed close, on a desk or in a small frame. A good phone photo or any modern camera file handles these easily.
- A2, a proper wall piece. A decent camera file, or a high-resolution phone shot that was not heavily cropped, is fine.
- 50x70 cm and 70x100 cm, big. Here a mirrorless or DSLR file really earns its keep. A small or cropped phone shot may not clear the floor at all, so lean on a restyle if you're not sure.
Quick way to sanity-check your own file: it doesn't need to be perfect, it needs to be the biggest, least-cropped version you've got. If you took it on a recent camera and didn't crop it to bits, you're almost certainly fine even at the larger sizes.
Should you keep it as a photo or restyle it?
Once you've uploaded to the aircraft print, you choose the look. There's no wrong answer here, it's about the room and your taste.
Keep it as a photo print when the shot is genuinely good: sharp, well-lit, the aircraft you love exactly as you saw it. There's an honesty to a clean photo that a lot of spotters prefer, and it's the obvious pick if you nailed the frame.
Reach for an AI restyle when you want something more like a piece of art, or when the photo's a bit ordinary and you'd rather make a feature of it. Your options:
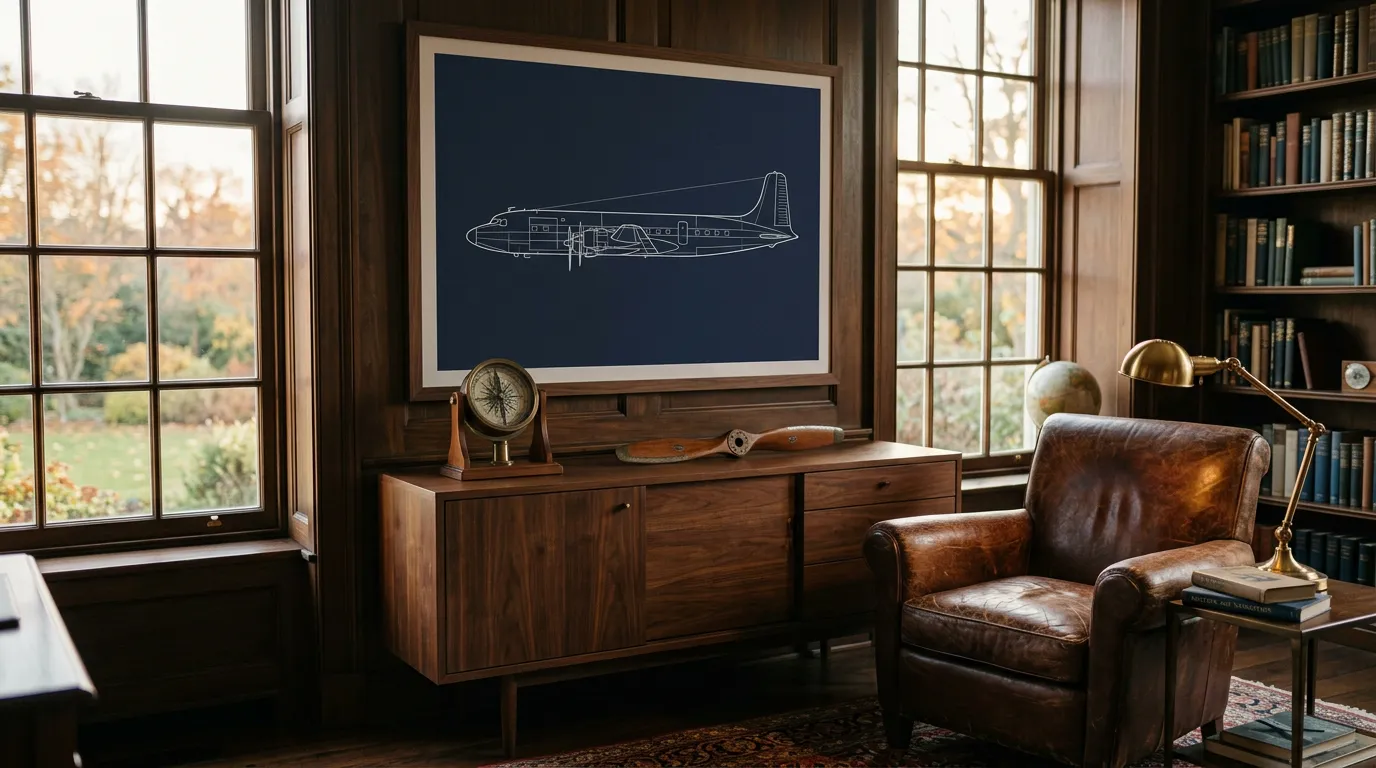
- Blueprint, white-on-blue technical-drawing styling. It makes even a so-so photo look deliberate.
- Vintage poster, bold, mid-century airline-poster colours. Brilliant on canvas.
- Line drawing, stripped right back to the shape of the airframe. Clean and minimal.
- Watercolour, soft and painterly, for a gentler, more domestic piece.
- Oil, richer and heavier, the most painterly.
One more thing the restyles quietly fix: resolution. Because the AI is redrawing the airframe rather than enlarging your pixels, a blueprint or line drawing will hold up at a bigger size than the same photo would as a straight print. So if you've got a much-loved aircraft but only a middling file of it, a restyle is often the route to going large without it turning soft. The photo print is unforgiving about file quality; the restyles are not.
The honest tip: if your photo's a cracker, print it as a photo. If it's a bit flat, restyle it: the redraw hides a multitude of sins. We break each style down properly in aircraft art styles explained, and there's separate advice on getting the shot in the first place over in plane-spotting photo tips.
Print, canvas, metal or wood: which surface?
Same image, four very different finishes. This is where the piece gets its character, so it's worth a minute's thought rather than just defaulting to paper.
- Paper, framed or bare: the classic, and the most flexible. One stock, 250 gsm uncoated off-white archival, at A4, A3, A2, 50x70 cm and 70x100 cm. Framed, it comes at A3 and A2 in black or natural wood behind plexiglass, with no mount, so the paper fills the opening. Best all-rounder and the cheapest way in.
- Canvas, stretched over a 2 cm wooden frame, no glass and no glare. The weave flatters a painterly or poster restyle. Hangs straight out of the box. 30x40 cm, 40x50 cm, 50x70 cm and 60x80 cm.
- Metal print, printed onto a 3 mm aluminium panel, frameless. Colour sits bright and detail holds. 30x40 cm, 40x50 cm and 50x70 cm. Pick this for a crisp, true photograph rather than a soft restyle.
- Wood, printed onto 10 mm lined plywood with the grain running across it, at 30x40 cm and 40x50 cm. Warm, matte and quiet, and it suits a pale, minimal restyle far better than a dark, busy photograph.
Rough matchmaking: photo prints and metal love a sharp shot; canvas and wood love a restyle and a warmer feel. A modern office wall? Metal. A study or sitting room? Canvas or wood. A hallway gallery of several aircraft? Matching framed prints, every time.
How big, and how do you hang it?
Size is mostly about the wall and the distance you will view it from. A4 or A3 suits a desk, a shelf or a cluster. A2 on paper, or 40x50 cm on canvas, holds its own as the thing on a wall. Go to 50x70 cm or 70x100 cm on paper when you want it to be the feature of the room: a study, a hallway, the den. On canvas the size that does that job is 60x80 cm.
On framing there are two choices, and that is deliberate. Black suits modern rooms and sharp photographs. Natural wood warms up a homelier space and suits the vintage poster look. Both are wood mouldings glazed with plexiglass rather than glass, which is one reason they survive the post. Canvas, metal and wood arrive ready to hang with nothing else to buy. Hang the centre of the piece at roughly eye level, and if you are building a wall of several, keep an even gap and treat the group as one block.
A small trick if you're unsure about size: cut a sheet of newspaper to the dimension you're considering and tape it up where it'll live for a day. You'll know within an hour whether it's too small for the wall, and it costs you nothing.
A quick word on copyright
Print photos you took. That's what this whole thing is built for: your spotting, your frame, your aircraft. If you want to use someone else's image, get their permission first; our terms set out exactly how that works. It's a small thing, but in this hobby it matters.
Previewing and ordering
The order itself is quick. Upload your shot, choose photo or restyle, pick the surface, size and frame, and you will see the finished piece on screen before you pay. There is a tick box confirming you have looked at that picture and are happy for it to be printed, and the basket stays shut until you use it, so nobody ends up arguing afterwards about what was approved. Everything is made to order with free delivery.
Which style to pick is its own decision, and it is the whole of aircraft art styles explained. The sequence these two guides belong to is your aircraft.
More guides: plane-spotting photo tips · aircraft art styles explained · plane spotter gifts
Written by Craig Fearn, The Aviation Gift Co. Last updated .
Questions, answered
Can I turn my own plane photo into a print?
What photo works best for an aircraft print?
Can I get it on canvas or metal, not just paper?
Also in your aircraft